As an AWS Consultant, the most important part of my job is being able to actually get into the client’s AWS account. (Yes, that first week and a half spent just getting the right access is a story for another time.)
If you’re working in a similar space, you’re probably juggling at least two AWS accounts at once, if not more. Work Sandbox, client’s dev account, client’s prod account, you get the idea…
Keeping track of credentials and opening a Private Window in Firefox/Chrome for every new account never felt right. It felt clunky, like there just MUST be a better way. Turns out there is, and it’s quite simple!
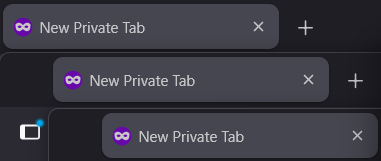
There are various solutions to the browser problem, but the most elegant one is containerised browser tabs. The concept is simple: you need to run multiple sessions for the same website simultaneously, so you silo them into separate containers (like docker for browsers). Think of it as having de facto private windows, but all living as tabs in the same browser window. Clean, color-coded and easy to navigate, in one word neat!
Firefox has had this feature baked-in for a few years:
But here’s where it gets spicy🌶️. Browser tabs are only half the battle. We still need to manage AWS credentials for the terminal. Sure, you could use the AWS CLI with profiles for different accounts, but that typically means storing persistent access keys in plain text. And let’s be honest, that’s usually frowned upon or sometimes outright forbidden by most security-conscious clients.
Leapp is the missing piece that ties it all together. It authenticates you through Identity Centre (the secure way), automatically provisions those credentials to your terminal, and opens a containerised browser tab in Firefox, all in one go. No persistent keys, no security nightmares, just seamless multi-account access in both your terminal and browser!
Leapp is no longer actively maintained by Noovolari, but has an active community.
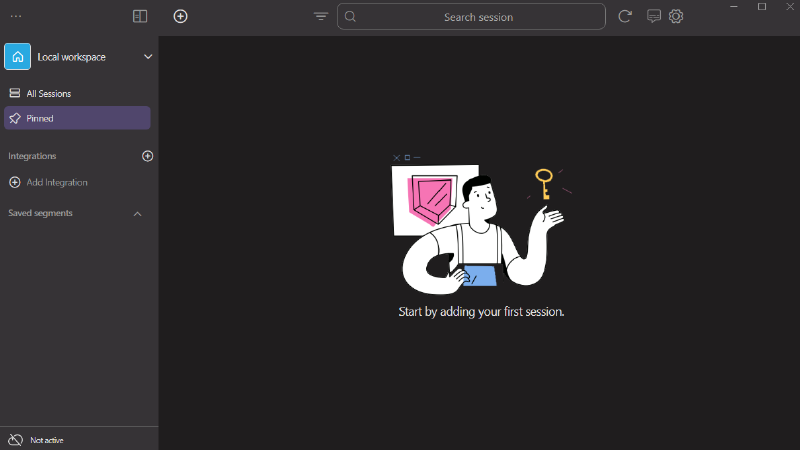
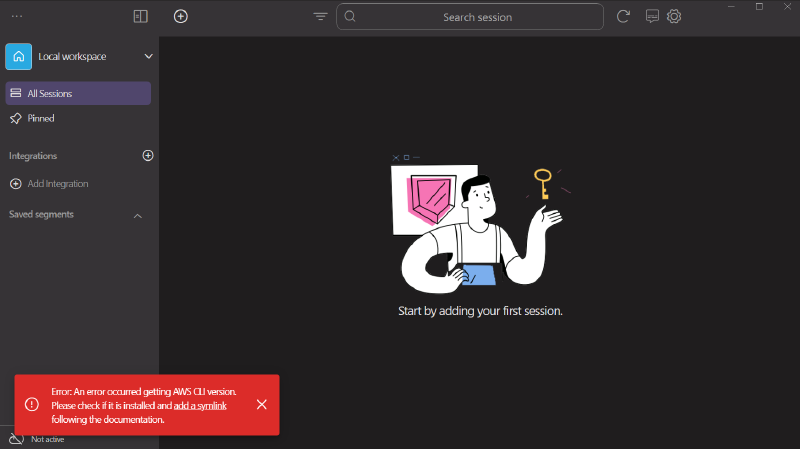
You should now see something like this:The error in the bottom left is to be expected. Since we want to run Leapp and connect it with WSL, we will need to create a symlink between the Windows and WSL .aws folders
Delete your existing WSL .aws folder, or make a backup of existing credentials
Create a symlink inside WSL (change the username to your Windows username):
1ln -s /mnt/c/Users/<your Windows username>/.aws .aws
Warning! The folder and its contents will be 777 due to the filesystem interop being terrible. Ensure that your WSL instance is secure, otherwise it could be an unintended backdoor to your Windows OS.
Restart Leapp
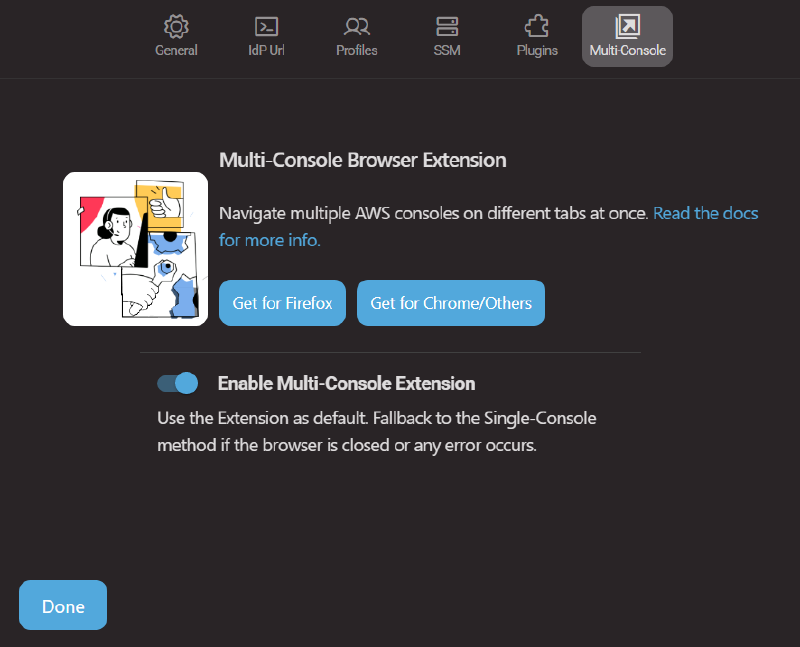
Go into Leapp settings -> Multi-Console
Press the Get for Firefox button
Install the extension in Firefox
Enable Multi-Console Extension using the toggle in Leapp. It should all look something like this:
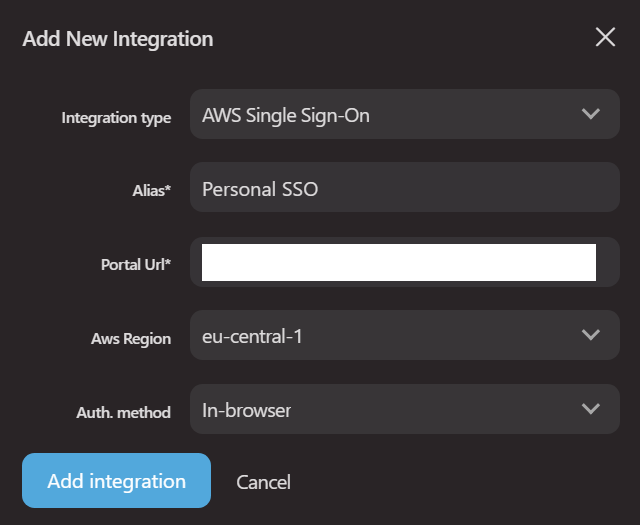
Add a New Integration using an account’s AWS SSO url
After filling in the details, double click on the new integration or right-click -> Login
After a successful login, your Leapp integration should turn green
Now you should be able to see all accounts belonging to that integration that you have access to in the session tab like so:
Click on the Play button that appears when you hover over the AWS logo next to the account of choice or double click on it.
This should take you to your browser and automatically open up a new Container tab belonging to that session
Remember that your terminal has always the currently active session in Leapp as the active credentials!
You are now good to go 🥳 Open up as many sessions and tabs as you like!
Author
Michal (Mike) Witkovsky
I’m a 27-year-old Senior IoT Engineer with a strong passion for both hardware and software. In my free time I enjoy hiking, swimming, playing guitar and exploring the unknown 🏔️